Trezor.io/Start – Official Guide to Setting Up Your Trezor Hardware Wallet Safely
If you’ve purchased a Trezor hardware wallet, your crypto security journey should begin at Trezor.io/Start. This is the official setup page provided by SatoshiLabs, the creators of Trezor, and it’s the only trusted place to initialize your device, install the correct software, and protect your digital assets from theft or loss.
In this guide, we’ll walk you through what Trezor.io/Start is, why it’s essential, and how to use it correctly to secure your cryptocurrency.
What Is Trezor.io/Start?
Trezor.io/Start is the official onboarding portal for Trezor hardware wallets, including Trezor Model One and Trezor Model T. The page provides step-by-step instructions to help users install Trezor Suite, verify device authenticity, generate a recovery seed, and follow best security practices.
Because private keys control access to your crypto, Trezor is built to ensure they never leave the device. Starting at Trezor.io/Start guarantees that your setup process is safe and authentic.
Why Trezor.io/Start Is So Important
The crypto space is full of fake websites and phishing attacks designed to steal recovery phrases. Using Trezor.io/Start protects you from:
Downloading fake or malicious wallet software
Using compromised setup guides
Exposing your private keys or recovery seed
Falling victim to phishing emails or ads
Trezor will never ask for your recovery seed online, through email, or via customer support. Any request for it is a scam.
How to Set Up Your Trezor Wallet Using Trezor.io/Start
Here’s what happens when you visit Trezor.io/Start:
1. Select Your Trezor Device
Choose between Trezor Model One or Trezor Model T so the instructions match your hardware.
2. Install Trezor Suite
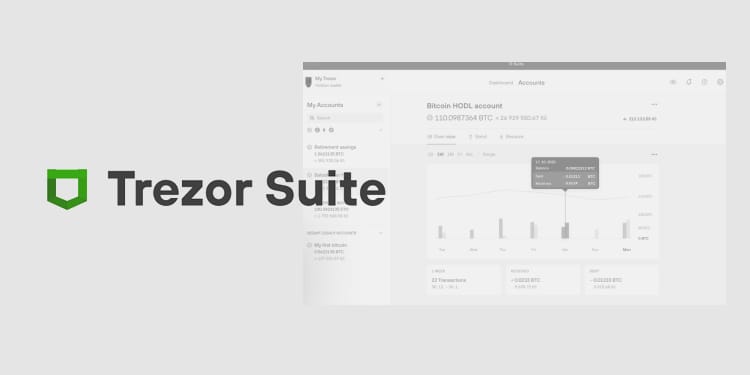
You’ll be prompted to download Trezor Suite, the official desktop and web application used to manage your crypto assets. Always install it directly from Trezor.io/Start.
3. Connect and Verify Your Device
Plug in your Trezor wallet and follow on-screen prompts to:
Install or update firmware
Verify device authenticity
Learn button or touchscreen navigation
This step ensures your device hasn’t been tampered with.
4. Create and Secure Your Recovery Seed
Your Trezor will generate a 12-word or 24-word recovery seed, displayed only on the device screen. Write it down carefully and store it offline in a secure location.
This seed is the only backup of your wallet. If your device is lost or damaged, the recovery seed is the only way to restore access to your funds.
5. Add Accounts and Cryptocurrencies
Using Trezor Suite, you can add Bitcoin, Ethereum, and hundreds of other supported coins and tokens.
Security Best Practices from Trezor.io/Start
Trezor strongly recommends the following security rules:
Never store your recovery seed digitally
Never share your seed with anyone
Avoid browser extensions claiming to be Trezor
Always verify URLs before entering sensitive information
Keep your firmware up to date
Typing Trezor.io/Start directly into your browser is safer than clicking ads or links.
Common Mistakes to Avoid
Many users compromise their wallets by:
Using unofficial setup videos or blogs
Buying pre-initialized or second-hand devices
Taking photos of recovery seeds
Entering recovery words on websites
Your recovery seed should only ever be entered on the Trezor device itself.
Final Thoughts
A Trezor hardware wallet is one of the most secure ways to store cryptocurrency — but security starts with proper setup. Trezor.io/Start is the foundation of that process. By following the official instructions, you ensure full control over your private keys and long-term protection of your digital assets.